

Enter stage left: this garage sale beauty.

Yes, she has a bit of a "muffin top" and she's not the prettiest shade of yellow-beige I've ever seen, but the red flashing lights and "project!" alarm bells were going off in my head. This chair was going to be my first reupholstering project! I paid $20 and couldn't wait to go shopping for new fabric right away.
Only, the thing sat in a corner of my kitchen for 2 years. 2 years in it's sad, frumpy state. Enough was enough. It was project time!
I started by removing the fabric trim and upholstery fabric. When millions of little (and still very sharp) nails came spilling out in the process, I decided it was an "outside" project and worked on the front porch as long as I could. It was February in Michigan, after all!


I removed the zillions of little nails from the chair, which took a couple hours... and gave the wood a white wash finish rather than paint it. I wanted it to still have an "aged" feel while keeping it modern and stylish. The white wash finish was perfect, creating a lovely weathered look. I was now ready to start the webbing which makes up the structure of the chair. The webbing can be purchased at most fabric stores and is about $.80 a yard. I needed 6 yards for this chair. Using a staple gun, I stapled the webbing to the edge of the chair. Make sure it is pulled tightly without damaging the structure of the chair. I did 3 rows closely together side by side in the base of the chair. Then I wove each horizontal strip between the first ones I did, so it started to look like this:

It should look like a basket, alternating if the strap goes over the first one or under, if that makes sense? I did the same thing to the backrest of the chair as well. I used a lot of staples to make sure that sucker was secure. Staple, staple, staple, staple....


Trim the fabric off very close to the edge. At this point I made the double piping that is glued on to cover up the staples and make the edges look all fancy. I followed this tutorial on how to sew the piping, which was actually pretty simple to do. The final step was to hot glue on the piping.


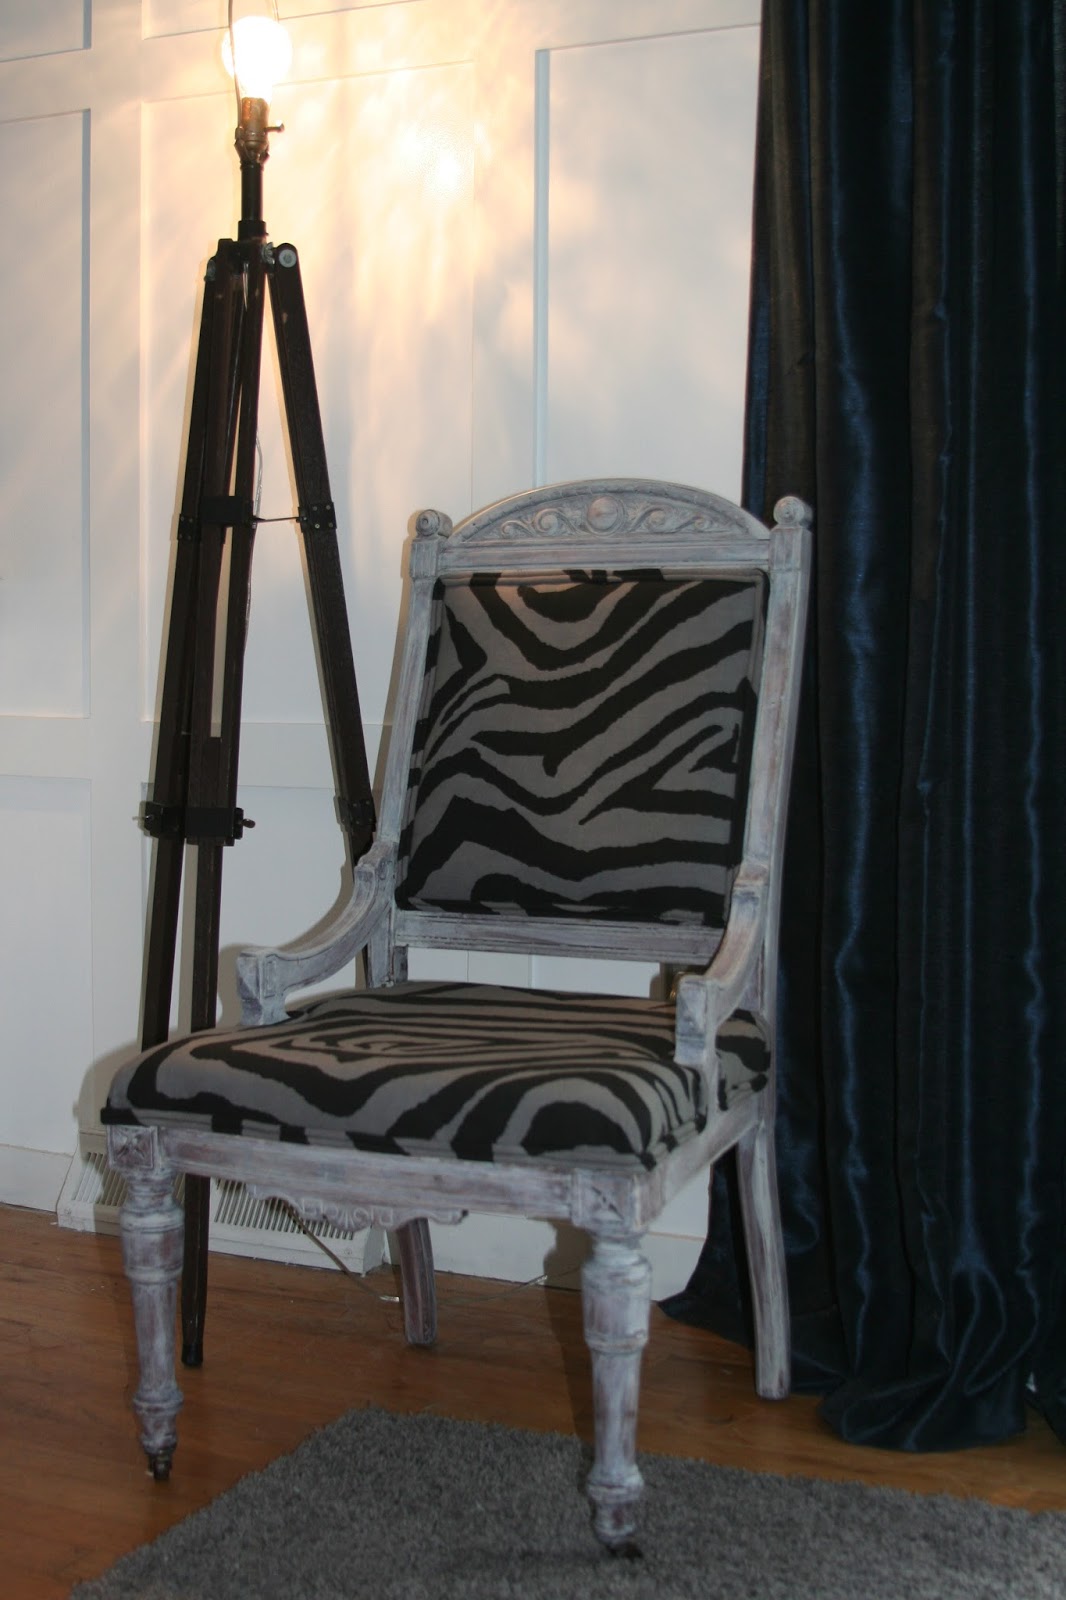

I am so happy with how this project turned out! It is no longer an overstuffed, toasted marshmallow and it's beaming with character. I love the combination of the worn, white wash finish and the clean, crisp fabric pattern, it creates a contrast that gives the chair so much personality and sass! If you have an ugly chair you contemplated redoing, don't put it off any longer, it is a fun project with HUGE results!
No comments:
Post a Comment